How to set up SSO for Create with your own app registration
TABLE OF CONTENTS
- Overview
- Prerequisites
- Create an app registration
- Expose an API
- Add API permissions
- Configure the token
- Allow public client flows
- Update the manifest
- Send the details to Omnidocs
Overview
This article explains how to set up a public client app registration in Microsoft Entra ID, so your users can sign in to your Create tenant with single sign-on (SSO).
The steps are based on the Microsoft guide to registering a public client app, with the additional settings that Create requires.
When you have completed the setup, you send the "Application (client) ID", "Directory (tenant) ID" and scope to Omnidocs, and we create your organization.
Prerequisites
- A Microsoft Entra subscription.
- Administrator permissions in the Azure portal.
- An account in the same Microsoft 365 tenant as the one you want to register the app in.
Create an app registration
- Sign in to the Microsoft Azure portal with an administrator account.
- On the "Home" page, under "Azure services", select "Microsoft Entra ID".
- You can also go through the Microsoft 365 admin center. Select "All admin centers", then "Microsoft Entra", and then "Go to Microsoft Entra ID". In the left navigation pane, expand "Applications".
- In the left navigation pane, select "App registrations", and then select "+ New registration".
- Enter the registration information:
- "Name": Enter a meaningful name. The name is displayed to your users.
- "Supported account types": Select "Accounts in this organizational directory only (Single tenant)", unless users from several Entra ID tenants need to sign in.
- "Redirect URI": Select "Single-page application (SPA)" and enter
https://app.omnidocs.cloud/auth/callback.
- Select "Register". The "Overview" page of the app registration opens.
- Copy the "Application (client) ID" and the "Directory (tenant) ID", and save them. You need to send them to Omnidocs at the end of the setup.
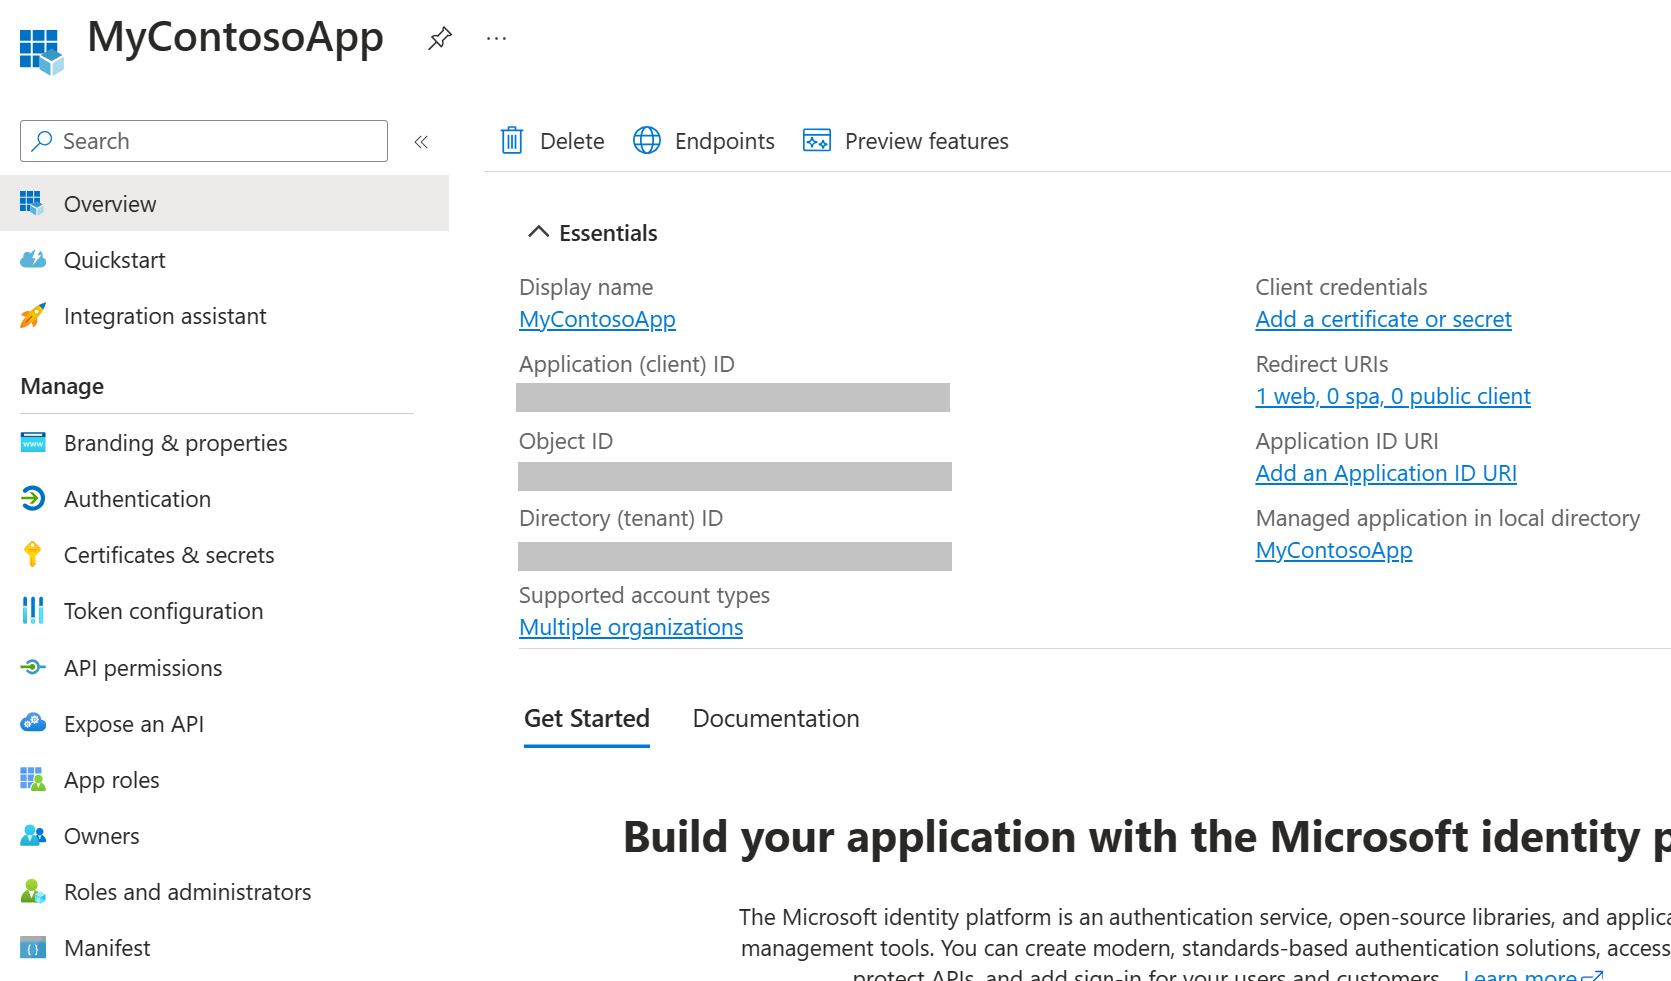
Note: The redirect URI is required for SSO to work. If you skip it during registration, you can add it later from the "Overview" page under "Essentials".
Expose an API
- In the left navigation pane, select "Expose an API".
- Select "+ Add a scope" and accept the generated "Application ID URI".
- Fill in the scope:
- "Scope name":
API.Access - "Who can consent?": "Admins and users"
- "Admin consent display name" and "Admin consent description": Enter a name and description of your choice. The consent allows Omnidocs to access your users.
- "State": "Enabled"
- "Scope name":
- Select "Add scope".
- Copy the full scope value, for example
api://<Application ID>/API.Access, and save it together with the IDs from the previous section.
Add API permissions
- In the left navigation pane, select "API permissions", and then select "Add a permission".
- Under "APIs my organization uses", select the app registration you created.
- If you are prompted, select "Delegated permissions".
- Select
API.Access, and then select "Add permissions". - Select "Grant admin consent for <OrganizationName>", even if it looks like consent is already granted, and confirm with "Yes".
Note: If you do not grant admin consent, your users will get a consent error when they sign in. If the "Grant admin consent" button is greyed out, you do not have permission to grant consent. Read more in the Microsoft articles about the admin consent button and user and admin consent in Microsoft Entra ID.
Configure the token
- In the left navigation pane, select "Token configuration".
- Select "+ Add optional claim".
- Set "Token type" to "Access".
- Select
verified_primary_email, and then select "Add".
Allow public client flows
- In the left navigation pane, select "Authentication".
- Under "Advanced settings", set "Allow public client flows" to "Yes".
- Select "Save".
Update the manifest
- In the left navigation pane, select "Manifest".
- Find the property that sets the access token version, and set its value to
2. Depending on the manifest format, the property is called one of the following:requestedAccessTokenVersionin the Microsoft Graph format.accessTokenAcceptedVersionin the Azure AD Graph format.
- If you want to use custom claims, set
acceptMappedClaimstotrue. The default value isfalse. You configure the custom claims themselves in the enterprise application. - Select "Save".
Send the details to Omnidocs
Send the following details to Omnidocs, so we can create your organization:
- The "Application (client) ID".
- The "Directory (tenant) ID".
- The scope, for example
api://<Application ID>/API.Access. - The domain name you want to use, if it has not already been agreed upon.
We will let you know when your organization is ready. Your users can then sign in to Create at https://{domainName}.omnidocs.cloud/create.
If you have any questions or run into issues, contact Omnidocs Support.
Was this article helpful?
That’s Great!
Thank you for your feedback
Sorry! We couldn't be helpful
Thank you for your feedback
Feedback sent
We appreciate your effort and will try to fix the article